
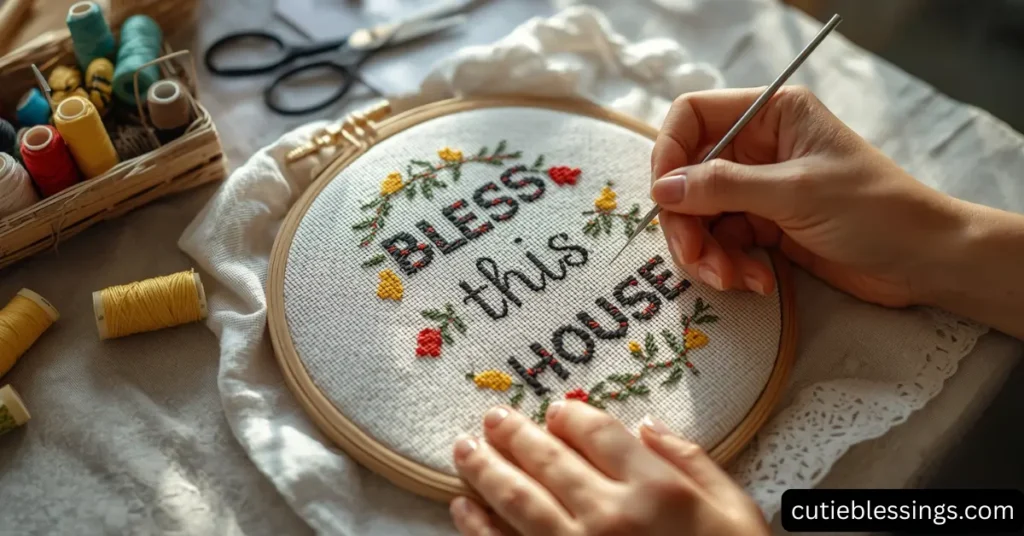
Cross-stitching is more than just a craft; it’s an art form that allows you to create meaningful, beautiful pieces that bring warmth to your home. Among the many popular designs, the “Bless This House” cross-stitch pattern has captured the hearts of crafters everywhere. Its timeless message of love, peace, and protection makes it a favorite choice for gifts, home décor, and personal projects. But perfecting this design takes more than following a pattern—it requires patience, attention to detail, and a few expert techniques.
In this guide, we’ll explore top proven ways to perfect your “Bless This House” cross-stitch, from preparation to finishing touches. Whether you are a beginner or an experienced stitcher, these tips will elevate your craft and make your project truly special.
Table of Contents
1. Choosing the Right Materials
The foundation of a perfect cross-stitch begins with the materials you select. Choosing high-quality supplies ensures your project looks polished and lasts for years.
Fabric Selection
The fabric you choose sets the stage for your cross-stitch. Common options include Aida cloth, evenweave, and linen.
- Aida cloth is beginner-friendly and has clearly defined holes, making counting stitches easier.
- Evenweave is smoother and allows for more delicate stitching.
- Linen provides an elegant, textured finish, perfect for heirloom projects.
When working on a “Bless This House” design, consider the size and color of the fabric. Neutral tones like cream or soft pastels often enhance the elegance of the finished piece.
Threads and Needles
Choosing the right thread can significantly impact the visual appeal of your cross-stitch. Most patterns use embroidery floss, typically six-stranded cotton.
- Use 2-3 strands for Aida cloth and 1-2 strands for finer fabrics.
- Select colors that complement your home décor. Traditional “Bless This House” designs often feature warm tones like reds, browns, and golds.
Needles should be sharp with a blunt tip, such as tapestry needles. This prevents the fabric from fraying and ensures neat stitches.
2. Preparing Your Workspace
Before stitching, create a comfortable and organized workspace. A clutter-free environment helps maintain focus and reduces mistakes.
- Good Lighting: Natural light is ideal, but a bright LED lamp also works. Proper lighting prevents eye strain and ensures you can see the fabric holes clearly.
- Hoops or Frames: Use a sturdy embroidery hoop or frame to keep your fabric taut. This prevents puckering and uneven stitches.
- Storage Solutions: Keep your threads organized with floss bobbins, labeled by color number. A small container for needles and scissors keeps essentials within reach.
3. Understanding the Pattern
Even experienced stitchers should take time to study the pattern before starting.
- Identify Symbols and Colors: Most patterns use symbols to represent thread colors. Highlighting or marking your pattern can prevent confusion.
- Count Twice, Stitch Once: Always double-check your starting point. Aligning your stitches accurately avoids mistakes that can be hard to correct later.
- Plan Your Progress: Consider stitching from the center outwards. This ensures the design is balanced and fits perfectly on the fabric.
4. Mastering Basic Cross-Stitch Techniques
Perfecting your stitches is essential for a professional-looking finish.
Consistent Tension
Maintain even tension throughout your stitching. Too tight, and your fabric puckers; too loose, and the design looks sloppy.
Uniform Stitches
All your Xs should slant in the same direction, usually bottom-left to top-right on the first half, and bottom-right to top-left on the second half. Consistency creates a smooth and cohesive appearance.
Backstitching for Detail
Backstitching outlines letters and patterns, making the design pop. For a “Bless This House” pattern, backstitching can emphasize borders, lettering, or small decorative elements.
5. Using Advanced Techniques
For more experienced stitchers, a few advanced methods can enhance your project:
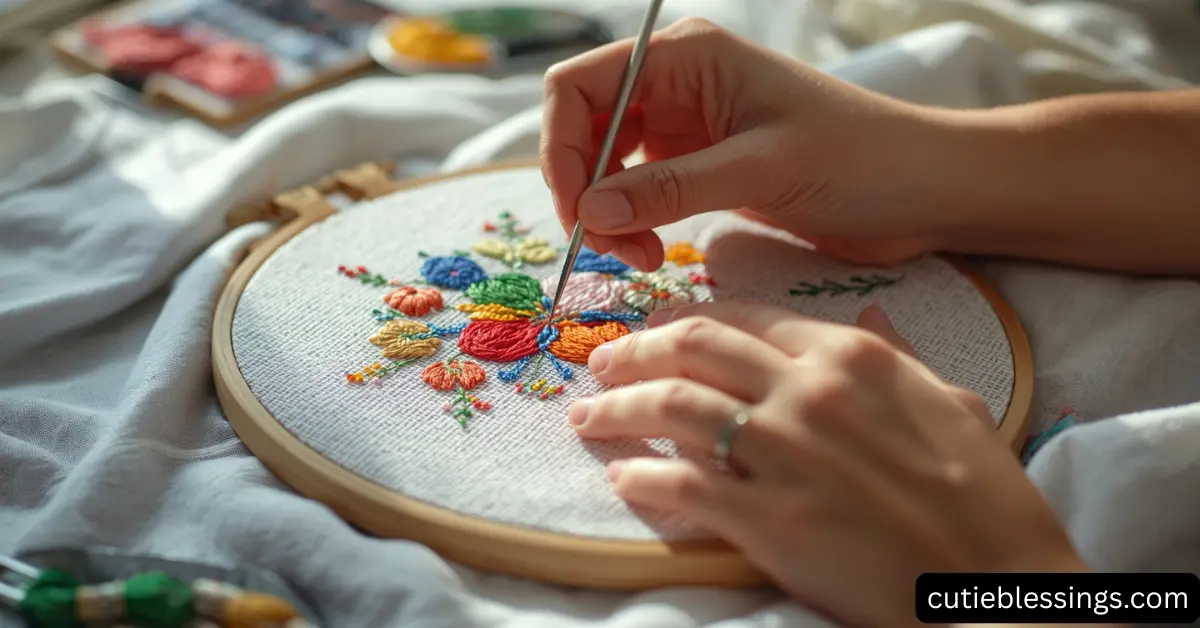
- Fractional Stitches: These allow for smoother curves and finer details, particularly in floral or decorative motifs.
- Blending Threads: Combine two colors in one needle to create subtle shading effects. This works beautifully for a warm, textured look in a “Bless This House” design.
- French Knots: Add tiny, dimensional details like flower centers or decorative dots to elevate your piece.
6. Keeping Your Fabric Clean
A clean project is a professional project.
- Wash Your Hands: Oils and dirt can stain fabric.
- Use a Hoop or Frame: Keeps fabric off surfaces that may be dusty.
- Cover Work: A simple cloth or project bag protects your stitching between sessions.
7. Finishing Touches
The finishing process transforms your stitched piece from a work in progress into a display-ready masterpiece.
Ironing
Lightly press the back of your stitching using a low heat iron and a clean cloth to protect threads. Avoid direct contact with embroidery floss to prevent flattening textures.
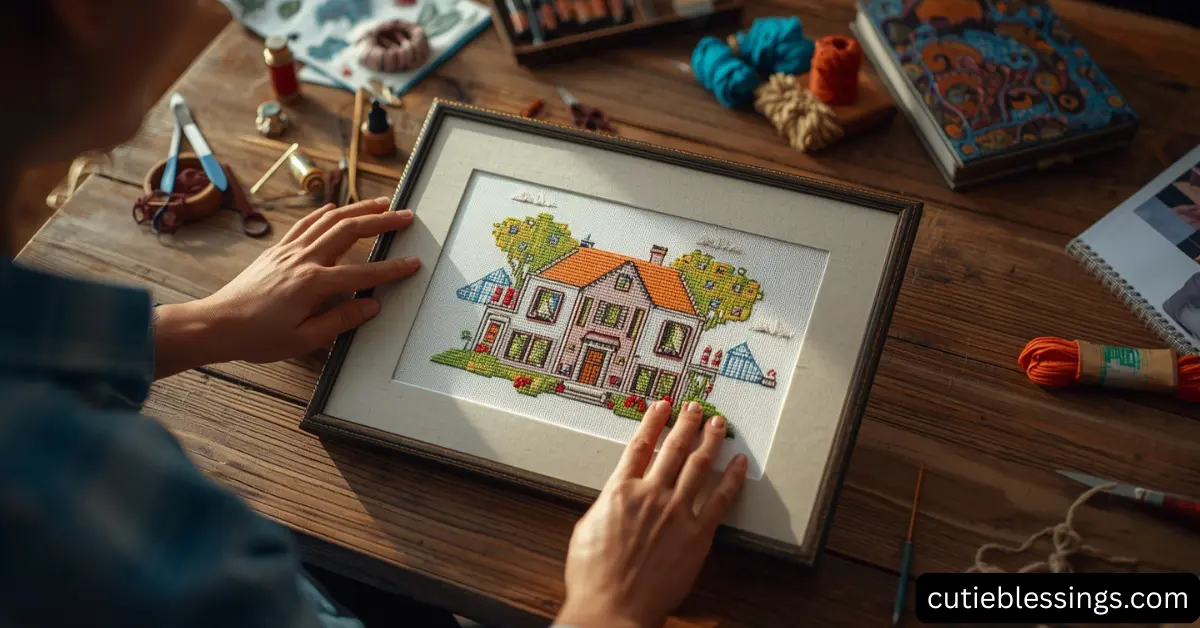
Framing
Choose a frame that complements the design. Wooden frames in warm tones enhance the homey feel of a “Bless This House” cross-stitch. Use acid-free mats to protect the fabric over time.
Mounting Alternatives
If framing isn’t your style, consider:
- Hoop display: Keep the fabric stretched in a hoop and hang it on the wall.
- Pillow covers: Sew your cross-stitch onto a pillow for functional décor.
- Table runners or wall hangings: Incorporate stitching into home textiles.
8. Avoiding Common Mistakes
Even seasoned stitchers encounter pitfalls. Recognizing and preventing them ensures perfection:
- Miscounting stitches: Always double-check rows and columns.
- Using incorrect thread colors: Label your threads clearly and cross-reference frequently.
- Skipping finishing steps: Proper washing, pressing, and framing maintain the integrity of your work.
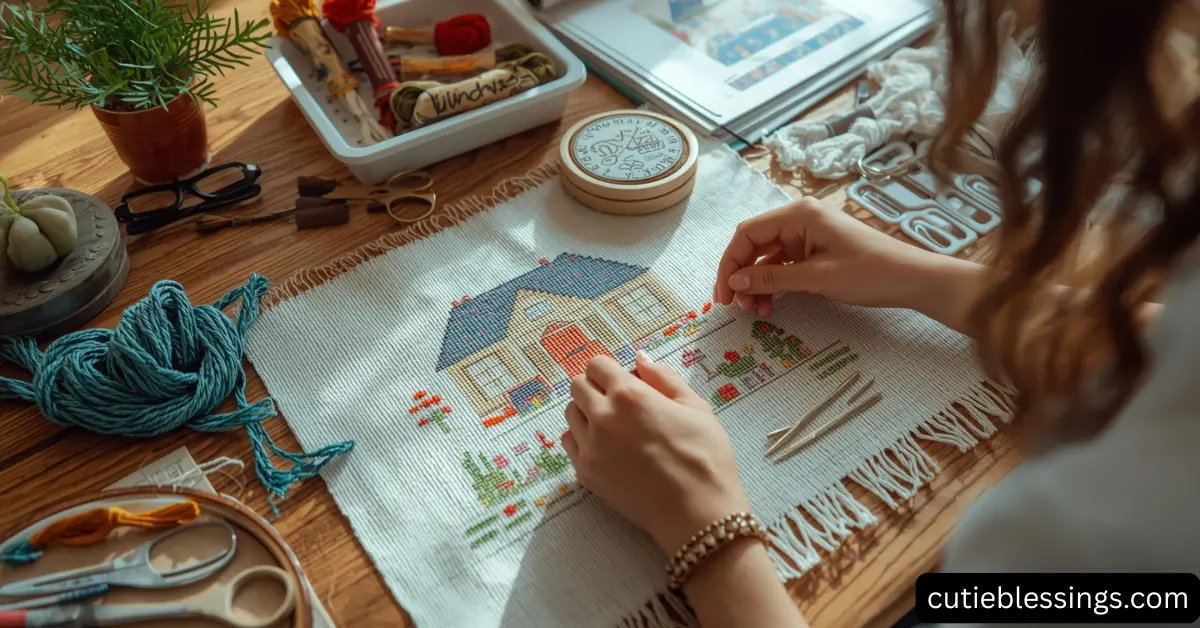
9. Adding Personal Flair
The beauty of cross-stitch is its versatility. Personalize your “Bless This House” project by:
- Customizing Colors: Adjust shades to match your home décor or gift recipient’s preferences.
- Incorporating Monograms: Add family initials for a personalized touch.
- Adding Decorative Elements: Small floral motifs, hearts, or symbolic icons enhance the design.
10. Practicing Patience and Enjoyment
Cross-stitch is as much about the journey as the finished product. Taking your time, enjoying the process, and learning from mistakes leads to more polished and satisfying results.
- Set Small Goals: Focus on completing sections instead of rushing the entire piece.
- Take Breaks: Rest your eyes and hands to avoid fatigue.
- Celebrate Progress: Every finished motif is a step closer to perfection.
11. Caring for Your Completed Cross-Stitch
To ensure your project remains beautiful for years:
- Dust Regularly: Gently brush the surface or use a low-suction vacuum.
- Avoid Direct Sunlight: Prolonged exposure can fade threads.
- Store Properly: Keep unframed pieces in acid-free tissue or boxes to prevent yellowing.
12. Inspiring Ideas for Display and Gifting
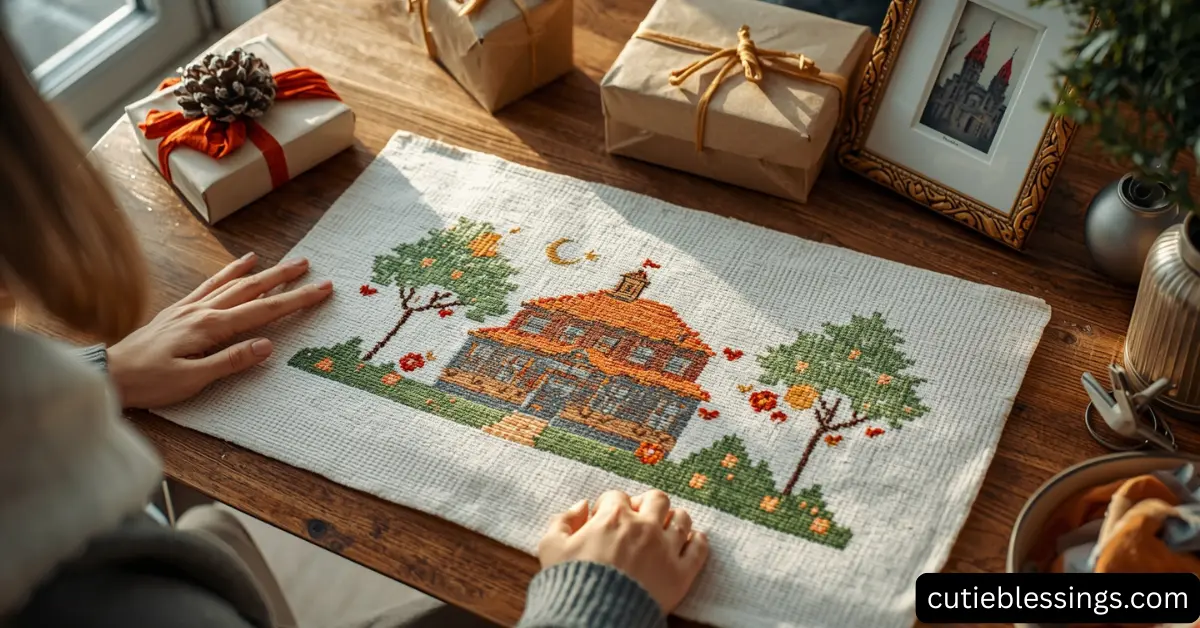
A “Bless This House” cross-stitch is versatile for both décor and gifting. Some ideas include:
- Entryway Statement: Hang near the door to welcome guests with positivity.
- Kitchen or Dining Room Décor: Brings warmth to family spaces.
- Thoughtful Gifts: A handmade cross-stitch makes a personal and memorable gift for housewarmings, weddings, or holidays.
Conclusion
Perfecting your “Bless This House” cross-stitch is a combination of careful planning, quality materials, expert techniques, and a little personal creativity. From choosing the right fabric to mastering stitches, organizing your workspace, and finishing with care, every step contributes to a beautiful, meaningful piece.
With patience and dedication, your cross-stitch can become a cherished centerpiece that radiates love and positivity throughout your home. These top proven ways to perfect your “Bless This House” cross-stitch will guide you from start to finish, turning your crafting time into a joyful and rewarding experience.
FAQS
What is a Bless This House cross stitch?
– It’s a decorative embroidery featuring the phrase “Bless This House” to display in homes.
What materials are needed for it?
– You need Aida fabric, embroidery floss, a needle, and a pattern.
Is it suitable for beginners?
– Yes, many patterns are beginner-friendly with simple stitches.
How long does it take to complete?
– Depending on size and skill, it can take from a few hours to several days.
Can it be a gift?
– Absolutely, it makes a thoughtful and personalized home décor gift.